When I started the Specific Carbohydrate Diet (SCD) in 2001, I knew that I would need to learn how to make yogurt from scratch. I had become friends with Elaine Gottschall, and she emphasized in our chats and her book that this was an important part of the SCD which aims to rebuild the health of the gut.
Back then I made yogurt everyday for the boys. I had 2 toddlers at home and they gobbled it up as fast as I could make it! Now, I make yogurt around once a week, and they still love it. Below I will show you how to make yogurt the SCD way.
What is Yogurt?
Yogurt is a semi-solid sour food that is made from milk fermented by bacteria. It is often sweetened and flavored, which is another great reason to make yogurt at home, so that you can avoid the added sugar. Yogurt is one of the oldest agrarian foods known to humankind. It was a way in which to store the dairy products produced by cows, goats, sheep, and other mammals prior to the advent of refrigeration.
Lactose-Free Yogurt
When milk is left in a warm environment, a variety of bacteria and yeast start to grow and digest the milk sugars, or lactose as a source of fuel. If fermented long enough, yogurt will be almost completely lactose-free. That is why lactose intolerant people such as myself that cannot drink a glass of milk without getting very sick, can easily digest homemade yogurt that has been fermented for 24 hours. The bacteria in yogurt digest the lactose, as well as the casein, or milk protein.
Other Fermented Milk Products
There are various ways to ferment milk and make products similar to yogurt such as kefir. The fermented milk product that is created is dependent on the type of bacteria that is cultured. Yogurt is made from bacteria that produces a wonderful tart and tangy flavor.
Yogurt Starters
Yogurt can be made by using starter or a few teaspoons of some leftover yogurt to introduce bacteria to milk in order to ferment it into yogurt. I make yogurt using a starter that I buy at the store. It’s not as “DIY,” but I have found over the decades that I’ve made yogurt that using a starter is the most reliable method for me.

Free exclusive eBook, plus recipes and health tips, delivered to your inbox.
Yogurt Incubators
There are many ways to culture your yogurt and apply the heat that is necessary for fermentation. You can use an oven if the temperature is low enough, or if it is not, you can use an oven with the light on to provide heat. I have not had success with this method as I found it challenging to control that environment and keep the heat even. I’ve also heard of people that use a crockpot, heating pad, or dehydrator to culture their yogurt. I haven’t tried that so not sure how consistent your results will be.
I use a yogurt maker to make homemade yogurt. I have had the same yogurt maker since I began making yogurt in 2001. I have slightly “Elana-fied” the process. Instead of placing the milk directly in the yogurt maker which is plastic, I place my yogurt mixture in a mason jar and then let that mason jar incubate in the yogurt maker. There are yogurt makers that come with glass containers instead of plastic. However, I do not want to buy another gadget so I have created my own fix so that our food does not come into contact with this substance. Another great thing about using mason jars is that you won’t need to transfer the yogurt to a container for storage after it has fermented because it’s already in one.
Choosing a Base
I make this yogurt recipe using dairy as a base. I have tried it with coconut milk and the results were not good. While the coconut milk fermented and tasted nice and sour, the texture was an abomination. I will be working on a homemade coconut milk yogurt recipe and posting it in the future so stay tuned!
I make yogurt with whole milk or half and half. Since I am following a very low-carb diet (VLCD), also known as the Keto Diet, dairy-products with a higher percentage of fat are best for me. This may not be the case for you since different foods work for different body types. I haven’t tried low-fat or non-fat milk in this yogurt recipe, so I’m not certain that it would work, but I believe there is a very good chance that it would.
Using higher fat dairy products reduces the amount of milk sugars, or lactose, and milk protein, or casein in the finished product. The fermentation process of making yogurt further reduces the amount of these substances by digesting them during incubation.
I use dairy products that are organic, and whenever possible, grass-fed. Because many dairy products are contaminated with added hormones and antibiotics, and because I view food as my medicine, this is critical for me. Everyone is different, so this may not be as important for you. Raw milk is fantastic if you have access to it, and I made this recipe using raw milk when the boys were at a Waldorf school and we had a cow share with the other families. If you don’t have access to raw milk and you are using store bought, do not buy ultra-pasteurized dairy products for your base as this process wipes out much of the good bacteria in the dairy product.
Quick Method for Heating the Base
Every yogurt recipe I’ve seen instructs you to heat your milk to 180°F. I have found that this is not necessary unless using raw milk. I heat the yogurt base in this recipe to between 108°-112°F and the recipe works every time. If you are using raw milk, heat it to 180°F.
Fermentation
When using the yogurt starter and yogurt maker that I recommend in this recipe, it is possible to ferment the yogurt for as little as 5 hours. Remember though, the longer you ferment the yogurt the more of the lactose and casein are digested as fuel for the bacteria to thrive upon. Additionally, the longer you ferment the yogurt the thicker its texture will be, and it will also have a more tart flavor. I have fermented yogurt for as long as 48 hours and it was amazing. When I did this with half and half, it tasted like sour cream!
How to Make Yogurt
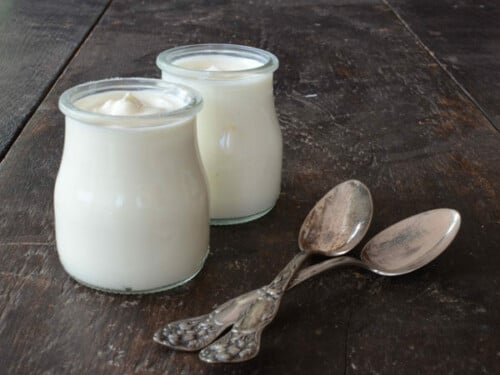
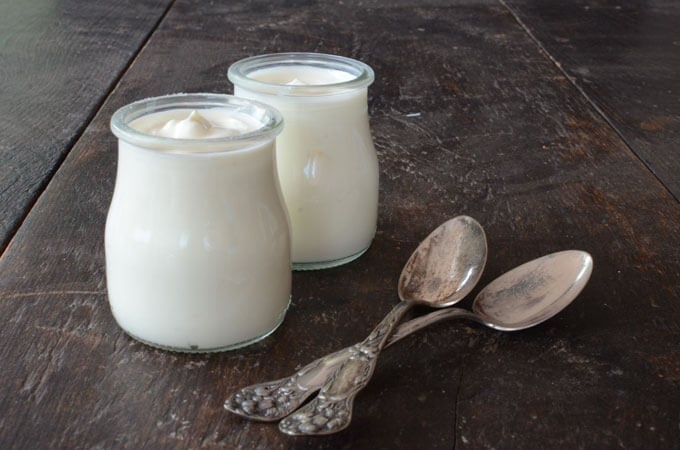
Instructions
- In a medium pot, heat milk to 108°-112°F
- Place yogurt starter in mason jar
- Place ½ cup of heated milk into starter, stirring until smooth
- Pour remainder of milk into mason jar, stirring well
- Transfer mason jar into yogourmet yogurt maker
- Leave mason jar uncovered
- Cover yogurt maker
- Ferment for 24 hours for SCD compliant yogurt
- Serve
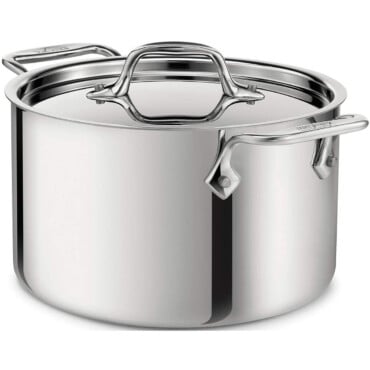
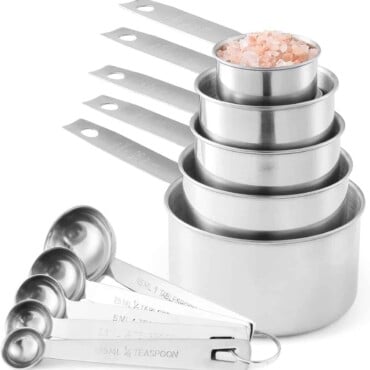
Equipment
Storing Homemade Yogurt
After my yogurt has fermented for 24 hours I remove it from the yogurt maker and place it on the counter to cool to room temperature. That usually takes an hour or so. After that I put a lid on the mason jar and place the yogurt in the refrigerator. I pour off any of the liquid that forms on it as this is whey and I avoid dairy proteins. You may not avoid them, so you may wish to save it for another use. The yogurt will keep for around a week, though my boys can still eat a batch in one day!
When I eat yogurt I do not add anything to it. The boys eat it plain or add a little bit of local honey that our neighbor gives us from his beehives.
I’m not quite sure why it took me so long to share my method for making yogurt, since I’ve been making my own since 2001. I hope this helps you all get started with your own yogurt making adventures and that you love it as much as we do!



Rita says
I cannot eat dairy at all. Cashew yogurt is delicious. Forager makes one but is not available where I live and I am searching for a reliable recipe to make it.thx in advance.
Elana says
Rita, I haven’t tried that so not sure :-)
Julia says
Hi Elana,
I have been making SCD style yogurt since 2006. I used to use the Yogourmet starter, but I hated having to buy it every couple weeks. I tried using yogurt from the previous batch as starter, or even store-bought, and it never worked. Then I found an “heirloom” starter on Cultures for Health. I haven’t bought starter since! I have an old yogurt maker that uses 8oz jars, and I take my “starter jar” (usually only half full) out after five hours and leave the rest for 24 hours. Having a good dose of lactose in the starter really seems to help.
Elana says
Thanks Julia!
Allison says
When you say “starter jar” is that an extra jar of the same recipe that you will use to start next week’s batch?